h1

make me pretty – fancy sideboard

October 13, 2015

I found this side board at one of my favorite estate sales, Overbrook Estates. They gather up stuff from lots of different estates and bring it to one warehouse location. I decided to get a little fancy with this one!

I painted the whole thing in a pale grayish blue and then highlighted some of the details with a warm platinum metallic paint. I painted the drawers and inside parts of contrasting orangy-red. A little distressing, an antiquing glaze and new drawer pulls and she is ready to go. Find her at Orange in Carytown!


h1

make me pretty – yard sale vanity

September 4, 2015

It’s hard for me to pass up a yard sale, even when I am traveling! I got this little cutie when I was in Blacksburg a couple weeks ago. I didn’t mean to go shopping for furniture but this yard sale was literally in the yard of my hotel! I couldn’t resist.


     I think this piece was meant to be a vanity but it would also work as a small desk. Now at RVA Antiques!

h1

make me pretty – another round up

July 30, 2015

I have been working on so much furniture, I haven’t spent much time blogging. So I am posting another round up of all my projects from the last month or so.

   
    I picked up this desk at an estate sale. I liked it’s petite size and roll top. It was originally white with metallic gold trim.

     Here I am in my new shed workspace.
  I loved the feet on this tv stand, and it already had a nice distressed paint job so I just decoupaged some paper on the doors.
   
 This is a chair my paint techniques for furniture students collaborated on at Vis Arts.

   
I have had this coffee table for years – got it at a Monument Avenue yard sale. I finally painted using a dry brush technique.


I rescued this desk from the alley of my old hood (I found Michael Jackson stickers in the drawers!) 


I gave this cabinet a super chippy finish to match it’s age.


I taught another class at the Visual Arts Center and my students painted this chair.

    Emerson bedazzled himself!

  I painted this mid-century dresser, and decoupaged fabric on the one drawer.

   
 I painted this very pretty, spindly desk.

  
And I made this cute bird and butterfly “chandelier” from an old lampshade and scrap fabric.

h1

make me pretty round up

June 3, 2015

So May was my first month at RVA Antiques and I have been painting like a mad woman. I have been burning through the stocked up furniture projects and haven’t had any time to blog about it. So I decided to do a big before and after post of all my projects from the last month.

I also want to tell you, if you live in RVA, you need to go to RVA Antiques. It is seriously cute, filled with cool vintage, antiques and hand made stuff. And the prices are very affordable. If you go out on a Saturday you can hit the Lakeside farmers market, too – just across the parking lot!

And this Saturday would be the day to go because RVA Antiques is having their first Vintage Market!

Now for the furniture!

IMG_7859.JPG

I don’t have a before for this chair but I love this anchor fabric!

IMG_7849.JPG

IMG_7866.JPG

IMG_7867.JPG

IMG_7938.JPG

IMG_7934.JPG

I did both these dressers with Miss Mustard seed Boxwood Milk Paint, possibly my favorite color paint ever!

IMG_7871.JPG

IMG_7921.JPGOnce again, no before, but I picked up this old mirror frame at a yard sale, painted it and turned it into a chalk board.

IMG_7947.JPG

IMG_7969.JPG

IMG_8030.JPG

IMG_8024.JPG

IMG_8164.JPG

IMG_8167.JPG

IMG_8188.JPGAnd then we went to the beach!

IMG_8308.JPG

IMG_8278.JPG

IMG_8246.JPGThen back to work with this beach inspired serving cart! IMG_8169.JPG

IMG_8221.JPGIMG_8506.JPGAnd I loved this yard sale find basically just as it was, with all it’s chippy pink paint. I just did some sanding, painted some stripes on the top and sealed it all up with some poly.

So come check out my space at RVA Antiques (and all the other awesome stuff they have there!) My booth is a work in progress – I just switched to a bigger space and don’t really have any walls yet but it’s getting there!

IMG_8511.JPG

IMG_8510.JPGIMG_8516 IMG_8518

h1

make me pretty – the big kitchen reveal

May 21, 2015

The kitchen is done! It has been done for a couple of weeks but I have been getting everything moved back in, putting on drawer pulls and assembling chairs and stools.

I still haven’t finished the island. It still needs some trim around the bottom and an antiquing glaze over the green paint – but we are almost there!

Just so you can recall how bad it was before:

IMG_7258

IMG_7257

And now the beautiful afters!

IMG_8110 IMG_8109 IMG_8107 IMG_8106 IMG_8103 IMG_8126 IMG_8123 IMG_8121 IMG_8119 IMG_8128 IMG_8134 IMG_8133 IMG_8132 IMG_8130 IMG_8144 IMG_8143 IMG_8142 IMG_8138 IMG_8137 IMG_8145 IMG_8150 IMG_8148 IMG_8147 IMG_8146

h1

make me pretty – now it’s your turn

April 30, 2015

I am so excited about my new painting workshops offered at Governor’s Antiques. These workshops will be two hours each, on Wednesday evenings. Each workshop will focus on one or two paint techniques for furniture. The first workshop will focus on chalk paint – how to make your own, how to paint furniture with it, distressing and antiquing, perfecting the chippy layered look and the best ways to use wax.

We will also be offering workshops focusing on milk paint, stenciling, metallic finishes, dry brushing, distressing and antiquing, glazing, and decoupageIf you haven’t visited Governor’s Antiques you are missing out. Part salvage yard, part antiques shop, it’s like a giant candy store of cool old stuff! So stop by sometime and check it out or follow them on Instagram or Pinterest for lots of fun decorating ideas. And of course I would love to see you at one of the painting workshops!

Patriot

h1

make me pretty – zinc countertop diy

April 15, 2015

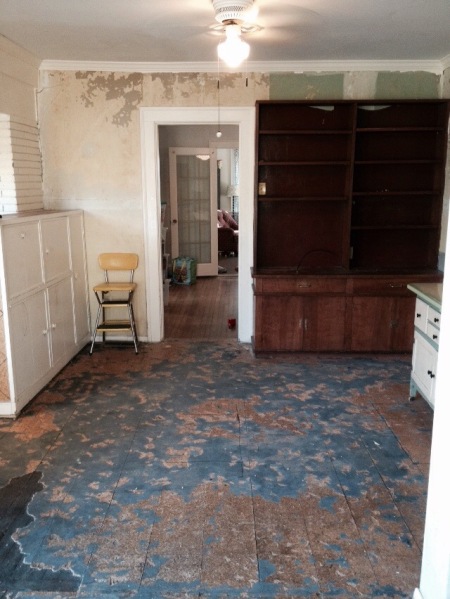
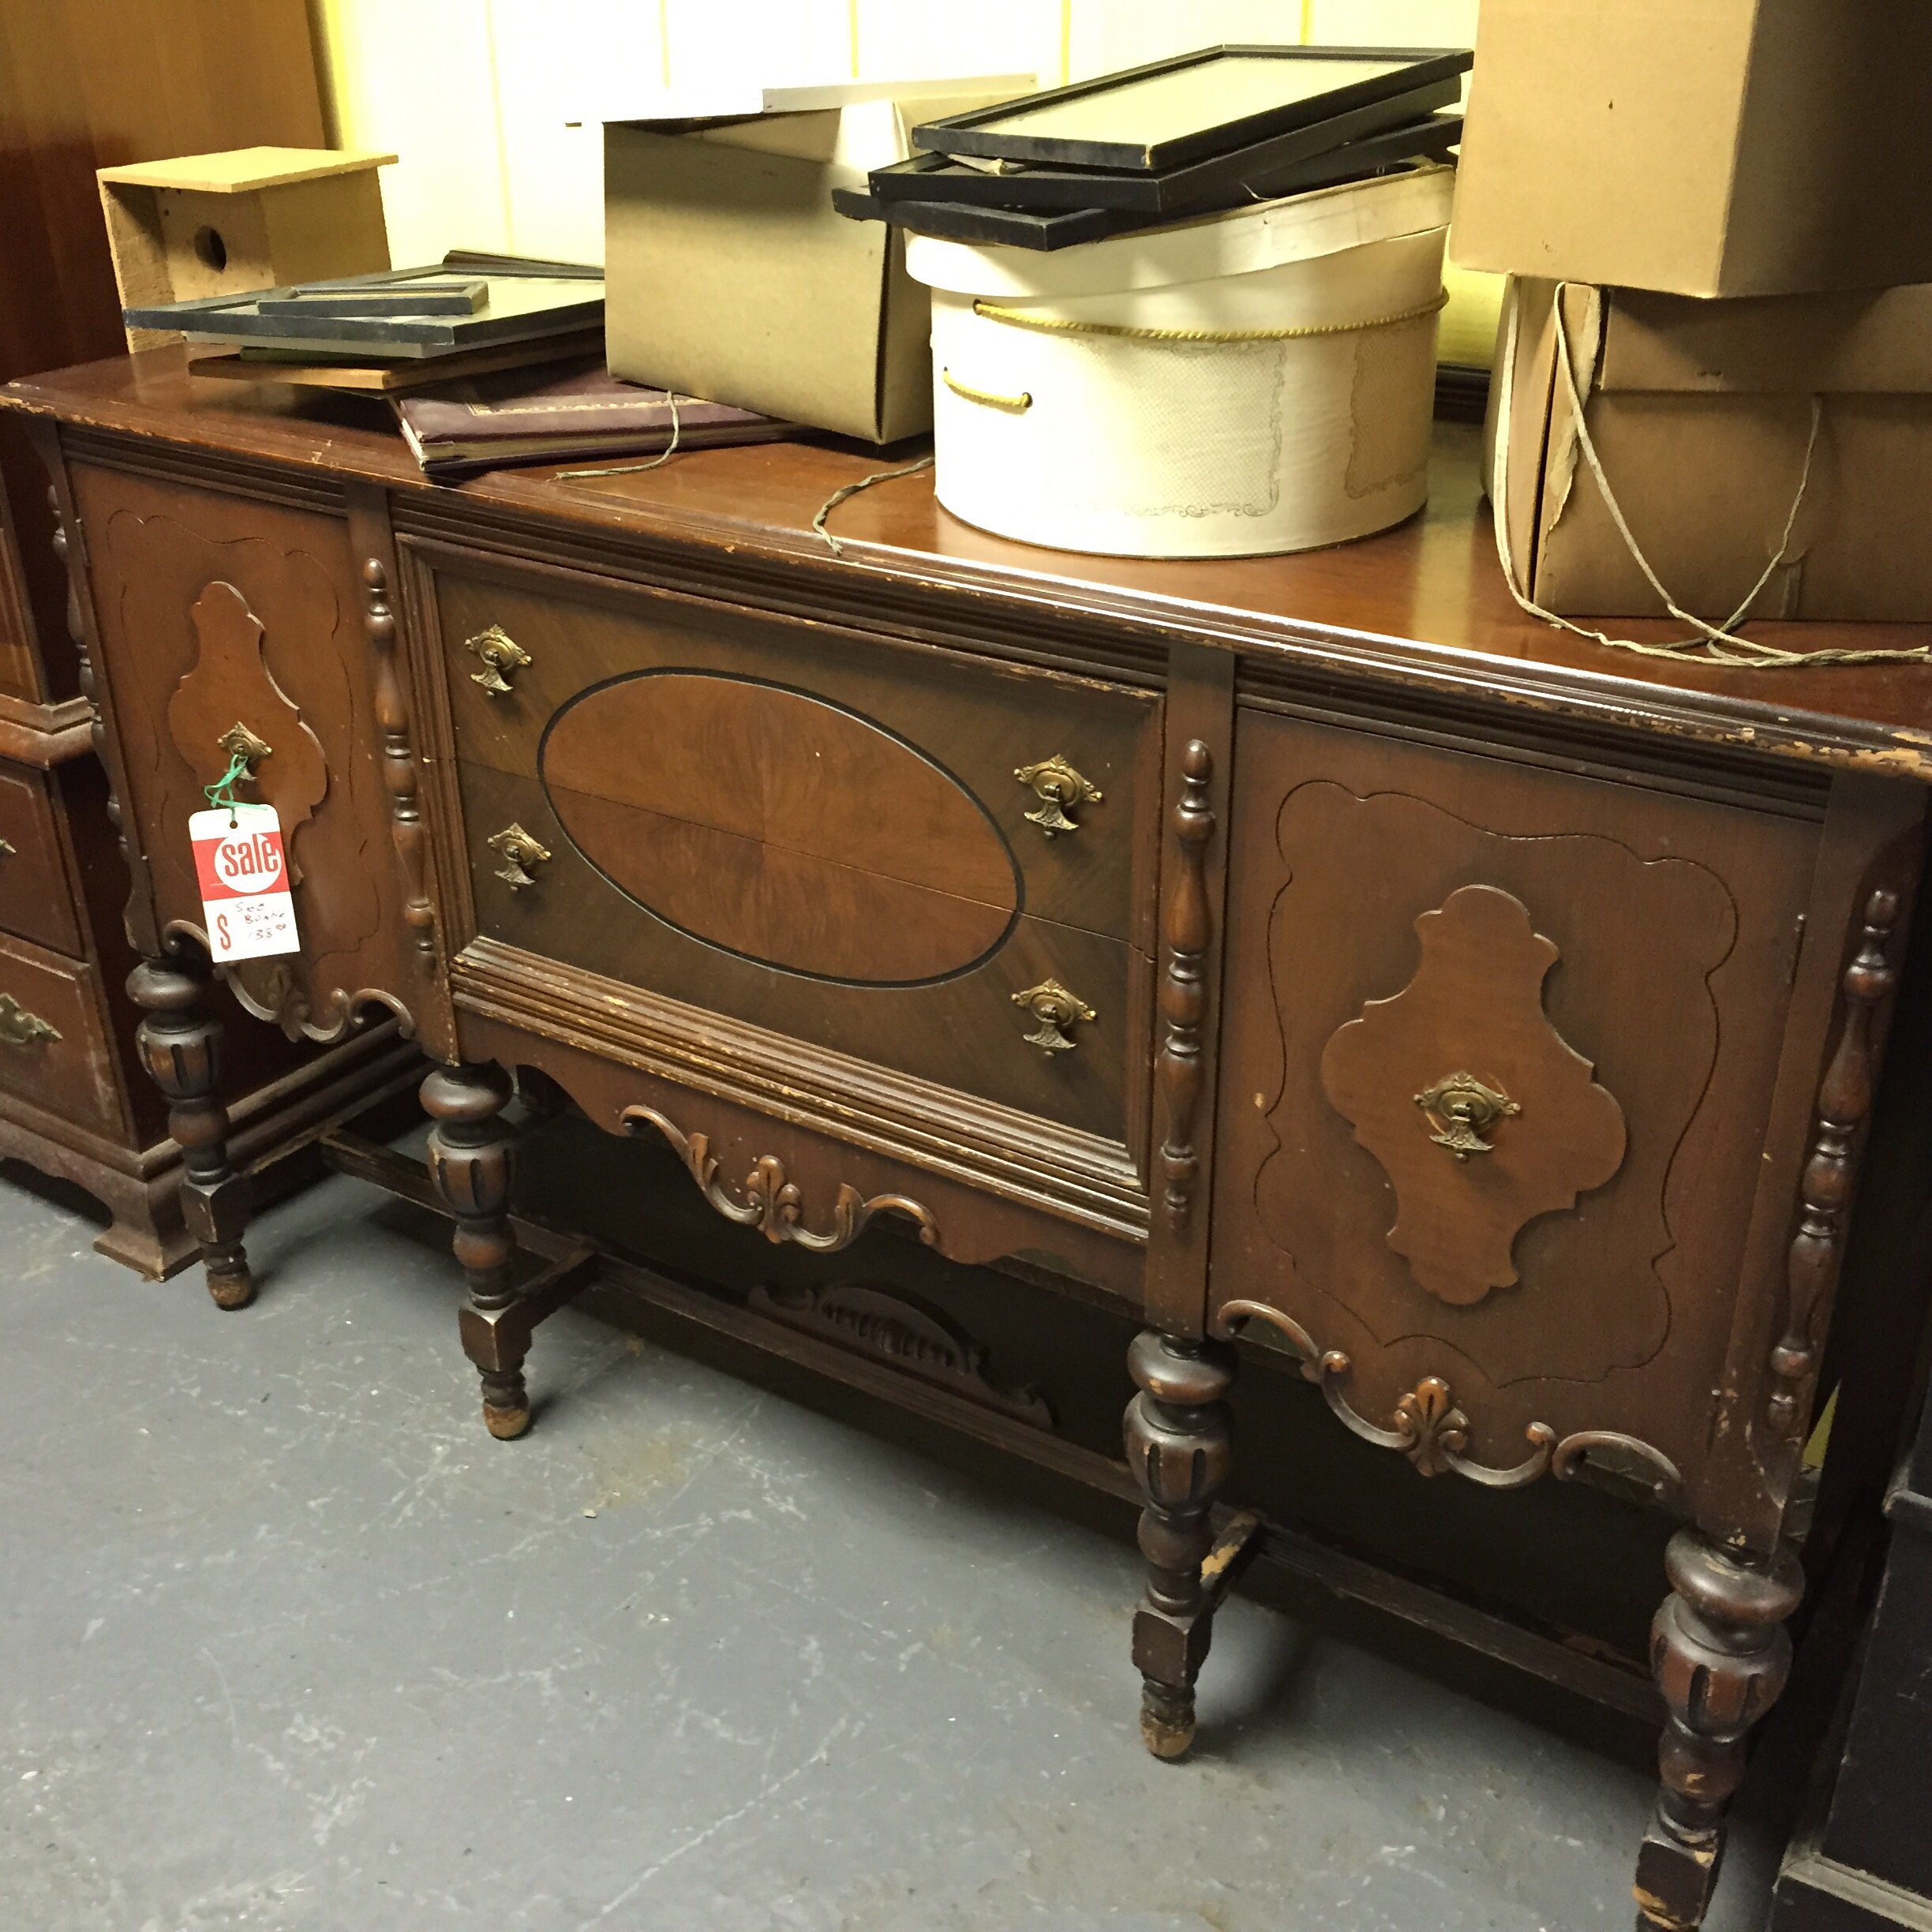
Only one thing from the original kitchen survived the renovation. The bottom of this built in seemed like it could be reworked and my plan involved a little paint and a zinc countertop.

Here is that corner before:

IMG_7253.JPG

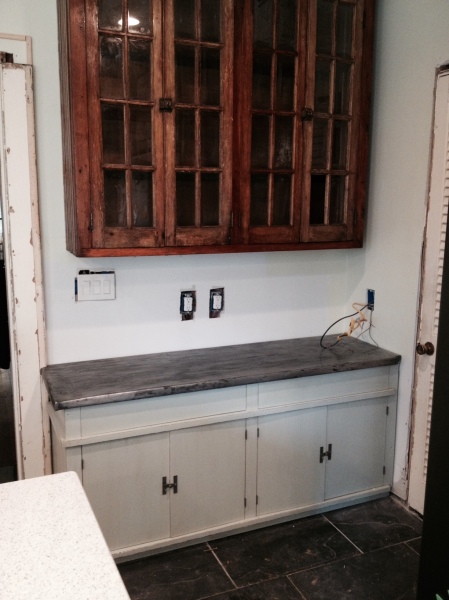
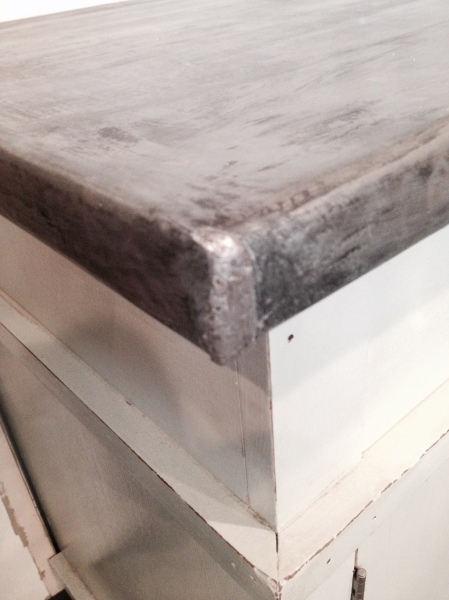
And after (it’s still waiting tile and trim):

FullSizeRender_3

I ordered all the supplies from rotometals. They had a little sample pack with small squares of zinc, all different thicknesses. They also sent samples of their different chemicals to change the color of the zinc. I found it very helpful to see and feel the samples before ordering.

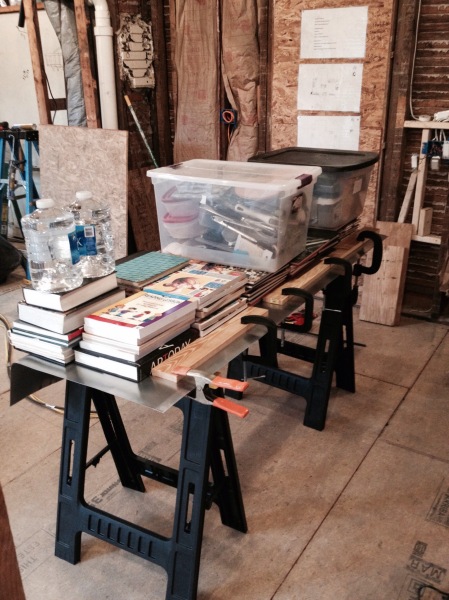
The zinc sheet came rolled up so the first thing I did was unroll it let it sit for a while to flatten back out.

IMG_7588.JPG

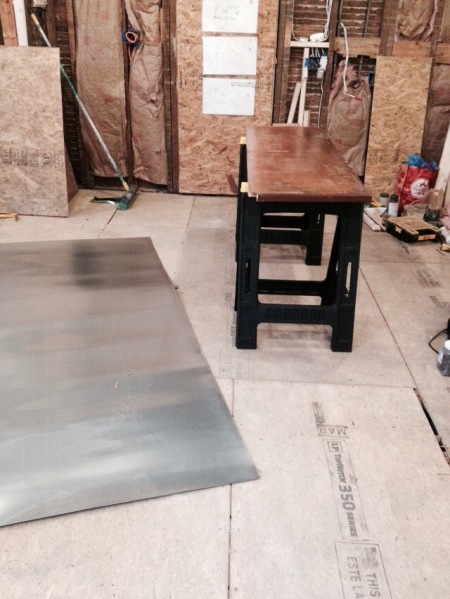
Then I cut a small sample piece to practice on. I practiced wrapping it around the edges. (The smaller piece was so much easier to work with than the big piece!)

IMG_7594.JPG

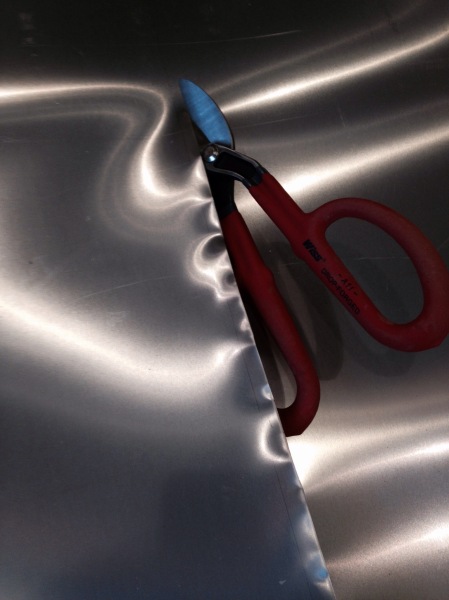
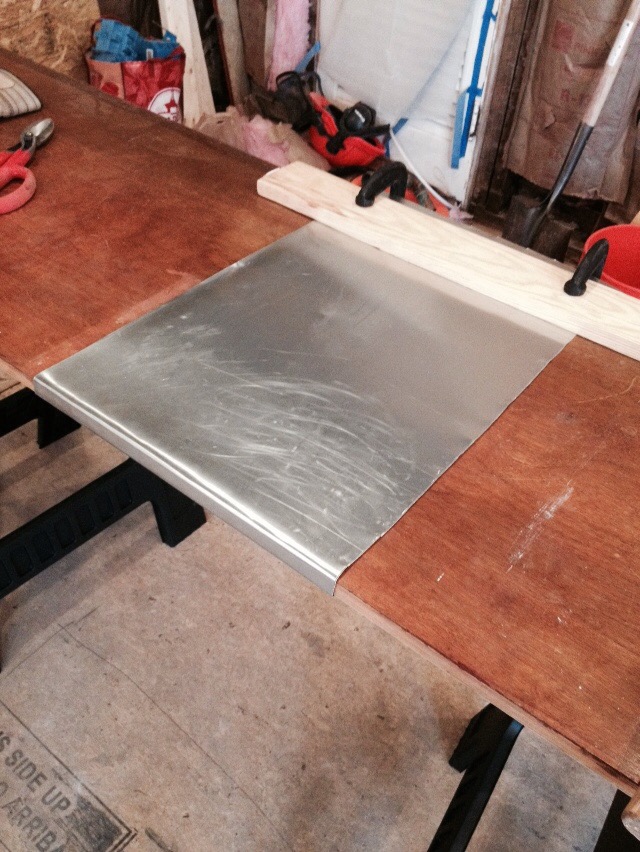
Next I cut the zinc sheet down to the correct size for my countertop, leaving enough to wrap around the edges and secure underneath. I used some basic tin snips I picked up at the hardware store and it was surprisingly easy to cut through. Make sure you wear some serious gloves when handling the cut metal – it’s very sharp!

IMG_7593

Next I used clamps to secure the metal where I wanted it while I bent the long edge that would go against the wall when the cabinet was installed. I put a piece of scrap wood between the metal and the clamps so that the clamp wouldn’t leave a mark on the zinc.

First I just used my hands and pressed the metal to make a crease and start to fold it over. Then I used a rubber mallet and hit the corner edge of the countertop to make the corner sharper.

This is an imperfect process and I ended up with some bonk marks but I wanted it to look sort of old and rustic so I was ok with that. You can also rent a machine call a break that makes perfect folds in metal. But my method also provided a free workout. I was exhausted at the end of this day!

After I finished bending that first side, I took of the metal and covered the countertop with liquid nails. I squirted it around and then spread it out to make a nice even layer.

I put a lot of heavy books on top and left it to dry overnight.

IMG_7597.JPG

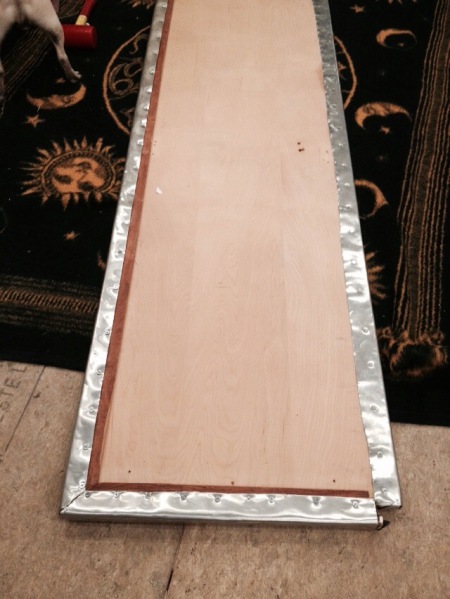
After the glue dried over night I flipped the hole thing over and secured the edge with screws. I made some little holes with a hammer and nail first so I wasn’t trying to screw through the metal.

IMG_7598.JPG

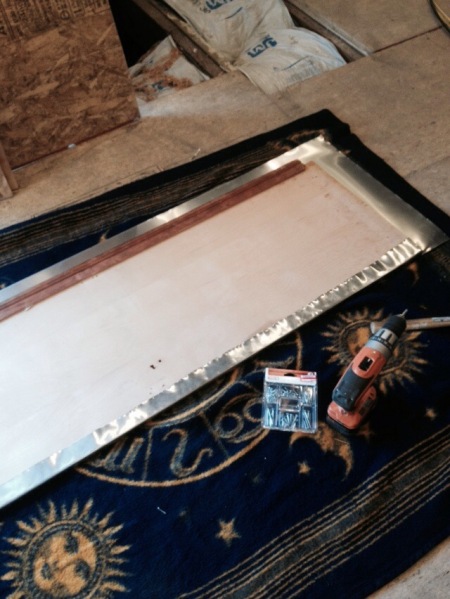
Then I bent the other three sides and secured them with nails. I had to cut little squares out at the corners for the metal to fold correctly.

IMG_7602.JPG

I didn’t take any pictures of the next step, sorry, but it was one of the most frustrating diy experiences I’ve had in a while. I had to solder the corners and I have zero metal working experience.

I had ordered the solder from rotometals – what they recommended to use with the zinc sheets but the coil was too thick for my solder iron to melt. I didn’t realize this at first I just thought I was the worlds worst solderer. Anyway, a friend helped me figure out that I needed some thinner solder and it got slightly easier. I ended up putting up too much metal and then filing a lot off. No matter how much I worked it my corners ended up chunky.

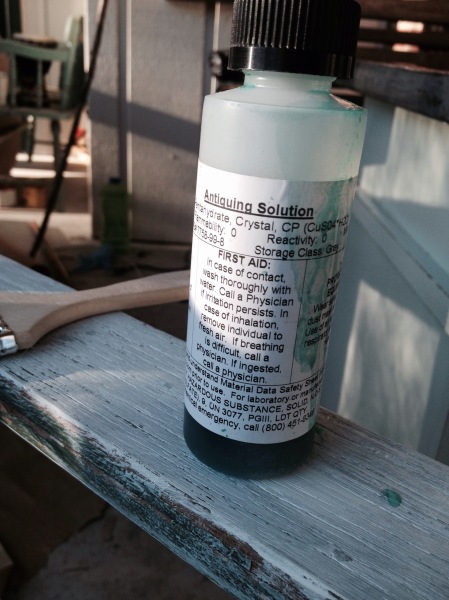
Anyway, after the frustration, came the super fun part! I got to paint on this chemical solution to antique the metal. This is much more in my comfort zone!

IMG_7695

I brushed the antiquing solution all over the metal and let it sit for a couple minutes. Then I wiped it off. It left the zinc really dark, like black. I wasn’t really expecting such a dramatic change from one quick coat.

I tried to remove some of the black with steal wool but it was very slow going. Then I remembered people saying the if you didn’t seal the zinc that certain things would remove the antique finish – like citrus juice.

IMG_7692.JPG

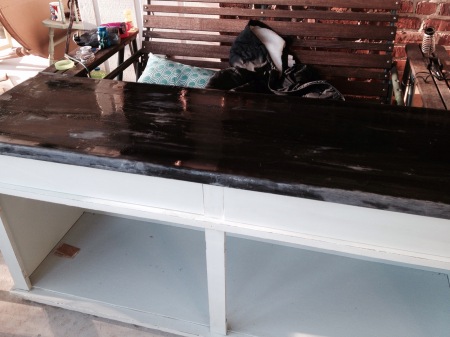
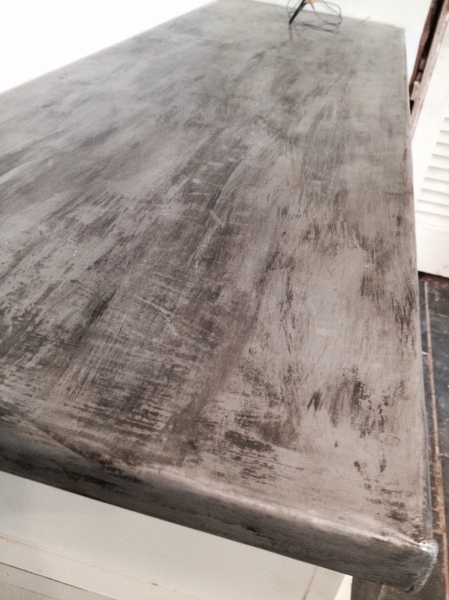
So I got some lime juice out of the fridge and rubbed it on. It worked perfectly. It took away some of the finish but not all of it. This is starting to look more like I had imagined it.

IMG_7696.JPG

IMG_7695.JPG

I sprayed two coat of sealer, also from rotometals, once I was happy with the finish. And here are some more finished pictures:

FullSizeRender_1 FullSizeRender_2 FullSizeRender

h1

make me pretty – kitchen looking like a kitchen again

April 10, 2015

Our kitchen is starting to come together and I am so excited. This will be the last post before the big reveal but I wanted to show you that we now have walls and a ceiling:

photo 3C photo 4C

photo 2C

And a floor with radiant heat underneath:

photo 1B photo 1D

photo 3D photo 3B

photo 1E

We Even have cabinets!

FullSizeRender_4

We have gotten lots of things in giant boxes:

photo 2

And we have had the giant dumpsters of trash taken away:

photo 1C

We have drank lots of the delicious beer our contractor brews:

photo 5C

We got a sparkly countertop delivered:

photo 1G

And sealed butcher block:

photo 5G

It has been a bit of a marathon but we are almost done! Really, the dishwasher and cooktop are going in today! I still need to show you the custom island and my zinc covered countertop DIY but enough sneak peaks for today. We are all exhausted, especially our awesome contractor.

And this is what Ollie thinks about it all:

photo 2H

h1

make me pretty – kitchen renovation, let there be light!

March 18, 2015

So much has been happening in the kitchen but most of it is behind the scenes kind of stuff. The floor has been leveled and we have sub-floor! And lights have been installed – lots and lots of lights! The hanging lightbulbs are markers for where the pendants will eventually go. We have a garage full of new appliances and the cabinets are getting delivered Monday! Walls and ceilings started going up yesterday and we should have a slate tile floor before the end of the week!!

IMG_7579-0.JPG

IMG_7577-0.JPG

IMG_7576-0.JPG

IMG_7578-0.JPG

There were a couple major problems we had to deal with once we found out what was behind the faux brick wall and soffit. We really wanted the soffit to become much shorter so it didn’t feel like it was diving the room in half. We were hoping we would only find the stove vent in there but no such luck. There were some radiator pipes and a giant cast iron waste pipe in our way. There was talk of leaving things where they were and just building a box around it but we ended up moving everything out of the way so we could have the kitchen the way we really want it. This also involved building a new support beam across the kitchen where the soffit had been. This is not the glamorous part of kitchen renovation but it is usually the reality. Some unforeseen problem that puts you over budget and behind schedule!

IMG_7346.JPG

IMG_7345.JPG

IMG_7583.JPG

IMG_7582.JPG

IMG_7580.JPG

IMG_7344.JPG

IMG_7581.JPG

Speaking of unforeseen problems, we had a major one a couple of weeks ago. One Saturday I was home alone with the kids and every time I walked past our newly installed hot water heater it would sound like water was running through it. I didn’t think much of it at first because I have never had the water heater in my living space and I don’t really know what kind of sounds they make. Anyway, after an afternoon at the Children’s Museum we came home to find the water heater still making that sound and I started to worry. When my husband got home I asked him about it and then we went into the kitchen to check progress and to see how much water was under the house. (The floor was still pulled up in the kitchen and with all the snow melting there had been an inch or two of water under the house.)

Holy cow, there was like 8″ of water under the house. And it was about 9:30 on Saturday night!! We texted our contractor, called a friend for advice, tried to find the main water shut off to the house and freaked out! In our search for the main water shut off we stumbled across a huge water leak. Water was shooting out of the crawl space under the mud room.

Our contractor saved the day! He showed up after 10 on Saturday night and shut off the water at the street. Then he crawled into the freezing cold, swimming pool of a crawl space and found the culprit – an old copper pipe had burst – totally un-related to the kitchen reno, by the way. He helped calm down my total freak out (it was not pretty) and promised to return the next morning.

So Sunday morning, at 7 am, which was really 6 am because it was time change day – our amazing contractor showed up to fix the pipe. And unbelievably he brought us coffee and croissants – he even remembered I only drink decaf! I am super impressed!

So after he fixed the pipe he went and got a pump and pumped all the water out from under the house (sigh of relief!) So once again, if you are in RVA and need a contractor I would recommend Russell Bell – RVA Fixer. He is awesome! You can find him on Twitter @farmerrussell

h1

make me pretty – my kitchen is a big black hole!

February 25, 2015

When we bought our new house one of the things we liked about it most was the potential of the kitchen. The kitchen itself was very small but connected to it was a strange den like space and amazing breakfast nook full of windows. We wanted to combine these three space into one big, wonderful kitchen.

We had pulled up really gross carpet when we moved in and found old cork tiles covered in black tar adhesive. We had them tested for asbestos and it the test came back negative, so we have just been living with them till we could start the renovation. I also pulled down some faux grass cloth wallpaper. I can imagine that this place was pretty styling in the 60s!
IMG_7258.JPG

IMG_7249.JPG

IMG_7257.JPG

IMG_7267.JPG

IMG_7265.JPG

IMG_7270.JPG

It was decided that we would have to pull up the floor to see what was causing it to be so unlevel. Then it was decided that we should take down the plaster walls to put in new electrical and why not take out the ceiling while we are at it. So right now our kitchen in a big black hole. I know it will all get put back together and be wonderful but this part is pretty scary.
IMG_7392.JPG

IMG_7390.JPG

IMG_7384.JPG

IMG_7383.JPGOne good thing about this renovation is we figured out where our hot water heater is! They put it in the corner of the kitchen cabinets under the countertop! So we bought a bigger one and moved it to the mud room.

I know these pictures of destruction are not very exciting so I will leave you with this beauty! We are going to be combining some vintage pieces with new cabinets. I found this beast of a pantry at Class and Trash. I working on fixing her up with a new “old” paint job and new hardware. Can’t wait to show you the after!

IMG_6974

And if you are in RVA and looking for a contractor, I can’t recommend ours enough – RVA Fixer! He showed up for the first day of demo in 9″ of snow! He seems to really love his work and is enthusiastic about all of my crazy ideas. Plus he has plenty of good ideas of his own. If you are into design and don’t want something cookie cutter, Russell is your man!